mardi 17 septembre 2013
DSDN112 Lab.
The red tone coveys a sentiment of anger.
In this picture the character has a cetrall position flanked by two dark zones driving a sense of mystery.
In this one the character is standing over the observer giving the character a dominant position, the dark surrounding him enhance the focus on him, this conveys either a sens of aggressiveness or security depending on context.
lundi 16 septembre 2013
dimanche 15 septembre 2013
DSDN 142 Joshua Davis lecture review.
The lecture by Joshua Davis was quite interesting I have to say. It shouwed that design isn't only about what the job is but can draw inspiration from anything and everything around us. It was also a great example of how one can mix in his hobys and passions into design to make it more personal and enrich the design. The one thing I found a litle offputing was that even though the lecture was interesting, it didn't go in depth into the process and was more of a colection of anecdotes strung together.
jeudi 12 septembre 2013
DSDN112 P2
For this
project I wanted to take a look at the public transportation in
Wellington as it was one of the first things that struck me as odd when I
arrived in New Zealand.
For the web page I wanted to have a layout that would be reminiscent of the busses themselves and thus went with a color palette of yellow and grays . For the layout itself I decided to frame the page with two vertical yellow lines like those found in bus walkways.
These are the pictures used for project 2:
The code used:
HTML:
<!DOCTYPE html>
<html>
<head>
<link rel="stylesheet" type="text/css" href="P2.css" />
<title>Wellingtons Bus Problem</title>
</head>
<body>
<div id="container">
<div id="title">
<h1>Wellingtons Bus Problem</h1>
</div>
<div id="line1"></div>
<div id="line2"></div>
<div id="bloc1">
<div id="photo1">
<img src="Pic01.JPG">
</div>
<div id="text1">
<p>I must first start this work by saying that I am not from New Zealand and come from France. When I arrived in wellington, I was very surprised to see what kind of bus services were offered or to be more precise the lack of it.
In wellington there are buses every 30 minutes. This is hardly fitting for a city that claims to be the Capital of a country, where I come from, a city of comparable size to Wellington, we will have busses pass every 5 minutes. This avoids long waiting between buses and, as demonstrated by the picture to the left, avoids questioning when one misses a bus without knowing which one it was, instead of potentially waiting 30 minutes, the passenger would have to wait a mere 5 minutes.
</p>
</div>
</div>
<div id="bloc2">
<div id="photo2">
<img id="pic2" src="Pic02.JPG">
</div>
<div id="text2">
<p>The insides of the wellinton buses is very cramped, the pathway between seats is barely wide enough to let a person pass, moreover most buses have little to no space for people to stand or for wheelchairs.
</p>
</div>
</div>
<div id="bloc1">
<div id="photo1">
<img src="Pic03.JPG">
</div>
<div id="text1">
<p>Cramped seats also mean that people have no where to comfortably place luggage elsewhere but the seat next to them, this means a person with a bag takes two seats instead of one resulting in a loss of passenger capacity.
</p>
</div>
</div>
<div id="bloc2">
<div id="photo2">
<img src="Pic04.JPG">
</div>
<div id="text2">
<p>Moreover, most seats are too close together and prevent people from siting straight in them, instead passengers must assume an awkward sideways position, or any other contortion, in order to fit in their seats this generally means that there is not enough room for and other person to sit next to them.
Fortunately, the city has recently been replacing the older buss models by newer ones that address these issues, but the delay between buses remains a problem.
</p>
</div>
</div>
</div>
</body>
</html>
CSS:
body {
background-image:url('bus pattern.jpg');
background-color:#cccccc;
}
#container{
width:1280px;
height:2000px;
border:0px;
}
#line1 {
height:100%;
width:20px;
float:left;
margin-left:15px;
background:#ffe800;
border:0px;
}
#line2 {
height:100%;
width:20px;
float:right;
margin-right:15px;
background:#ffe800;
border:0px;
}
#bloc1 {
height:480px;
margin-top:20px;
margin-bottom:20px;
margin-left:10px;
margin-right:10px;
width:1190px;
border:0px;
}
#photo1 {
height:480px;
margin-left:10px;
width:800px;
float:left;
background:#000000;
border:0px;
}
#text1 {
height:480px;
width:290px;
float:right;
background:#33302e;
border:0px;
margin-right:10px;
}
#bloc2 {
height:480px;
margin-top:20px;
margin-bottom:20px;
margin-left:10px;
margin-right:10px;
width:1190px;
border:0px;
}
#photo2 {
height:480px;
margin-right:10px;
width:800px;
float:right;
background:#000000;
border:0px;
}
#text2 {
height:480px;
width:290px;
float:left;
background:#33302e;
border:0px;
margin-left:10px;
}
#title {
background-color:#cccccc;
}
div {
height:75px;
width:80%;
border:2px solid black;
margin: auto;
}
h1 {
text-align:center;
background-color:#cccccc;
}
p {
margin-left:5px;
margin-right:5px;
color:white;
}
img{
height:480px;
width:800px;
}
DSDN144 P2
These are all the pictures I selected for use in project 2, there were around 60 images in total:
Proposal:
For the second project I had numerous ideas for the hand-in. At first I wanted to do a stop-motion video of traffic to reveal different patterns. Unfortunately I wasn't able to find a suitable location for this and the task was a bit too daunting given the resources I had available. Next I Decided I would try a series of photos of the same location at different times, a sort of “8 frame stop motion”. That idea was what developed into the final pictures I did which merge pictures of the same location with two different timings, one in the morning and one at night.
On a technical level, I have to say this project has been quite challenging and a good learning experience as, even though the merging of the two pictures was surprisingly easy and fast, the difficulty of getting the exact same framing for the two merged pictures was surprising, especially at night, when the view finder is black thus obscuring the reference markings.
Final pictures:
dimanche 8 septembre 2013
DSDN 142: Project 2
This is the poster I used as a source of inspiration. Analysis of the original poster:
Some pictures and code of the processing sketching I used for the final poster:
size (400, 400);
smooth();
background(255);
noFill();
line(20, 380, 380, 380);
arc(20, 375, 10, 10, HALF_PI, PI);
line(15, 375, 15, 20);
arc(380, 375, 10, 10, 0, HALF_PI);
line(385, 375, 385, 20);
arc(380, 20, 10, 10, PI, TWO_PI);
arc(20, 20, 10, 10, PI, TWO_PI);
arc(width/2, 20, 350, 350, 0, PI);
save("P2_botom.tif");
size(400, 400);
smooth();
background(247, 255, 247);
noFill();
//fill(125, 169, 255);
ellipse (200, 200, 350, 350);
//fill(125, 169, 255);
ellipse (225, 200, 300, 300);
save("P2_center.tif");
size (400, 200);
smooth();
background(255);
noFill();
line(20, 130, 380, 130);
arc(20, 125, 10, 10, HALF_PI, PI);
line(15, 125, 15, 20);
arc(380, 125, 10, 10, 0, HALF_PI);
line(385, 125, 385, 20);
arc(380, 20, 10, 10, PI, TWO_PI);
arc(20, 20, 10, 10, PI, TWO_PI);
arc(width/2, 20, 350, 200, 0, PI);
save("P2_top.tif");
size(400,400);
smooth();
background(255);
translate(200,200);
scale(3.5);
beginShape();
vertex(0,-50);
vertex(14,-20);
vertex(47,-15);
vertex(23,7);
vertex(29,40);
vertex(0,25);
vertex(-29,40);
vertex(-23,7);
vertex(-47,-15);
vertex(-14,-20);
endShape(CLOSE);
save("star.jpeg");
//Code for the star taken from the processing website (http://processing.org/tutorials/pshape/)
size(400,400);
//stroke(45,246,255);
smooth();
background(255);
//fill(5);
translate(200,200);
strokeWeight(5);
ellipse (0,0, 350, 350);
strokeWeight(1);
//noStroke();
//fill(255);
scale(3.5);
beginShape();
vertex(0,-50);
vertex(14,-20);
vertex(47,-15);
vertex(23,7);
vertex(29,40);
vertex(0,25);
vertex(-29,40);
vertex(-23,7);
vertex(-47,-15);
vertex(-14,-20);
endShape(CLOSE);
save("star_Circle.jpeg");
//Code for the star taken from the processing website (http://processing.org/tutorials/pshape/)
Some sketching done for this project:
I managed to have a fairly defined concept early on.
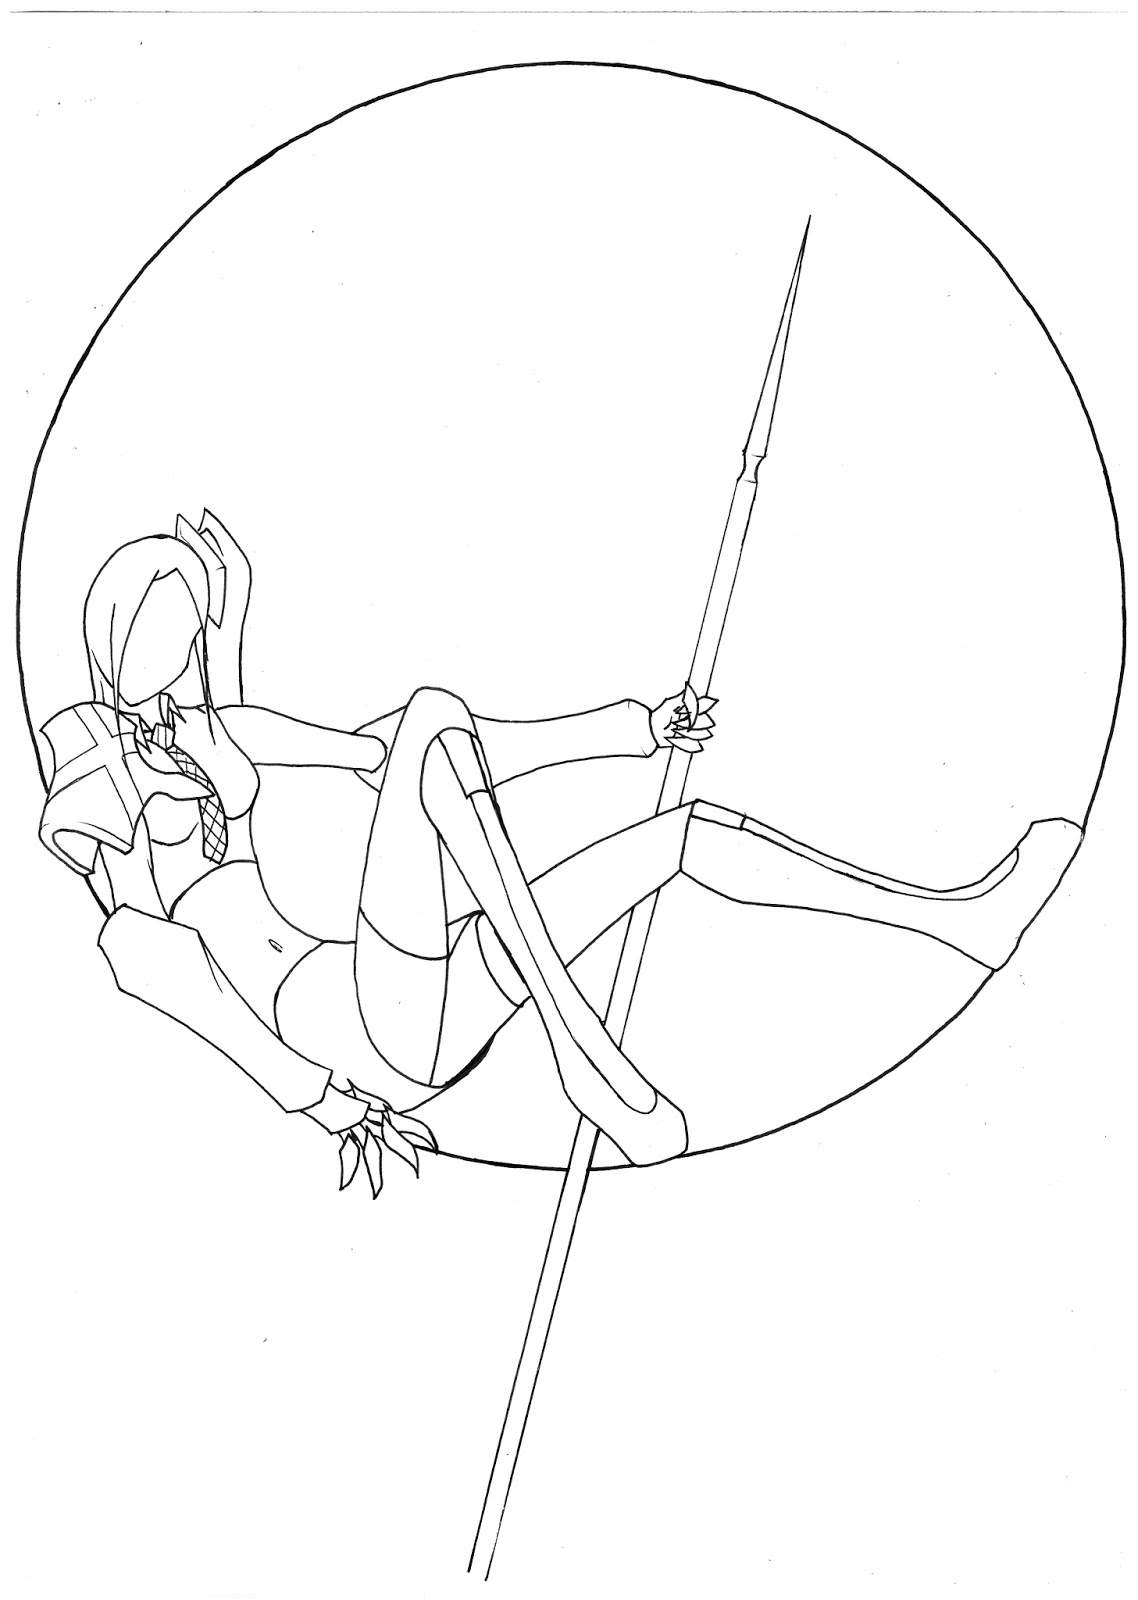
Theses are the final three iterations, only the final one is colored as the coloring is a very long process:
The main thing I was looking for with the different iterations was how to fill the space and in the end I decided to mix the two first iterations.
Inscription à :
Commentaires (Atom)


.jpg)
.jpg)
.jpg)


_modifie%CC%81-1.jpg)


